Begin
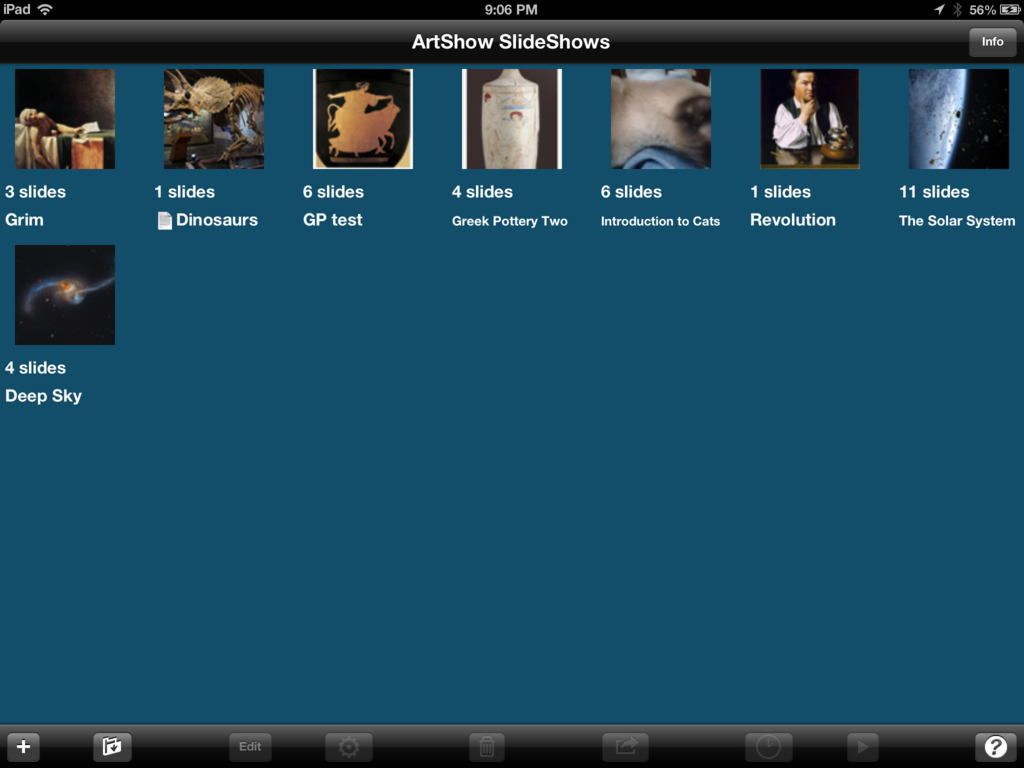
ArtShow SlideShows are separate documents. The main page lists all the current slideshow documents. Documents with a
![]() are packaged as a single file for import and export. These documents are converted before editing or presentation,
which takes a few extra seconds.
are packaged as a single file for import and export. These documents are converted before editing or presentation,
which takes a few extra seconds.

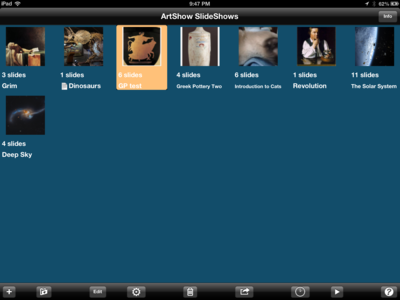
Tap a SlideShow document to select it for editing, deletion, sharing or presentation. Use  to create a new SlideShow document.
Edit a SlideShow


Each SlideShow consists of Slides and Media - images or movies. Images and movies are added to the SlideShow, and then they may be added to slides. Media can be added to one slide one or more times, added to more than one slide, or added to no slides. It may be useful to have images or movies in a SlideShow which are not used in slides; they may be used during a presentation to answer student questions or in supplementary discussion.
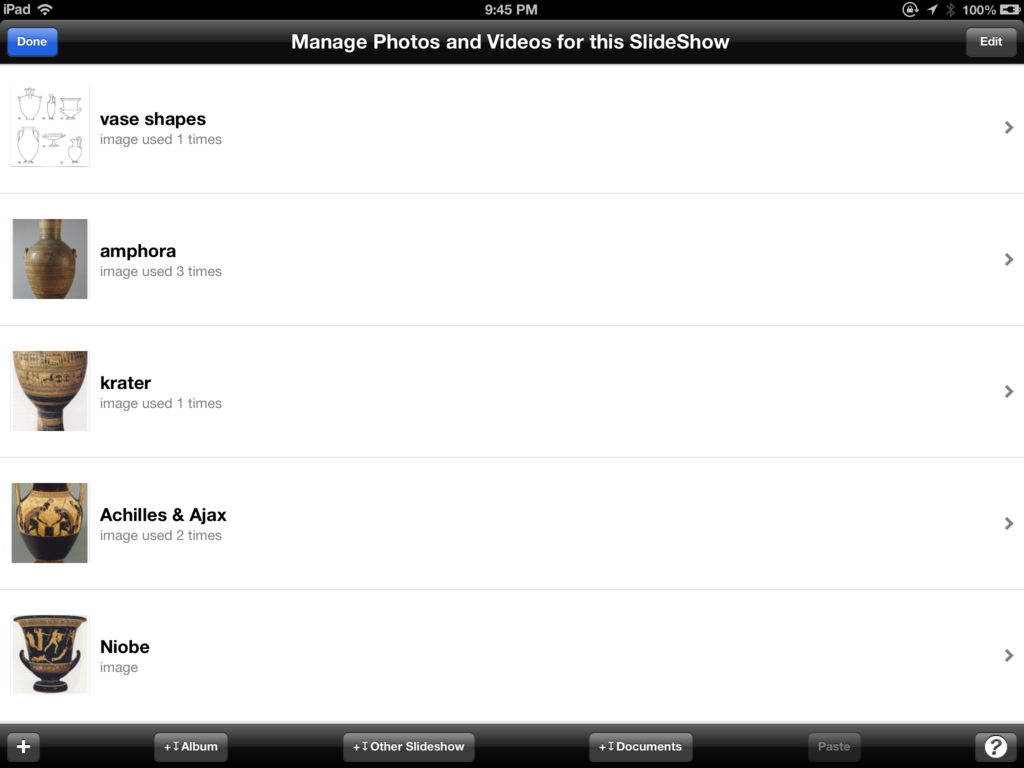

Images and Movies may be added individually or from albums in the Photos on the iPad, from other SlideShows, from iTunes File Sharing, or pasted from other applications.
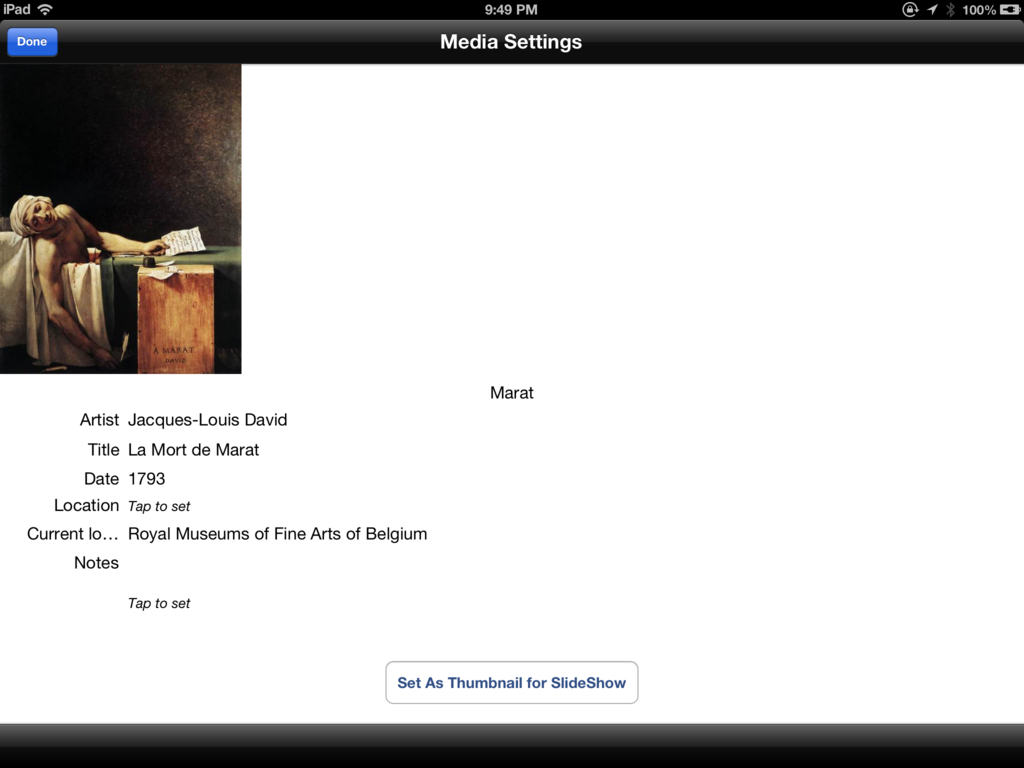

Each image or movie may be given a caption and other information. This information may be used during presentations and in preparing slides.
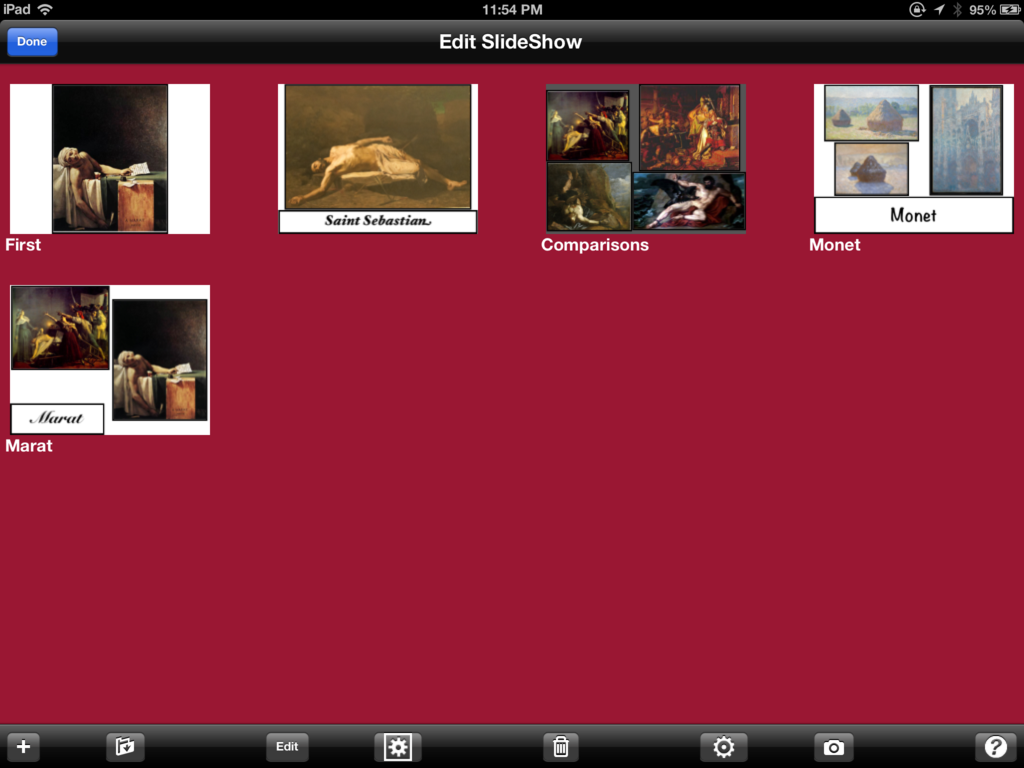
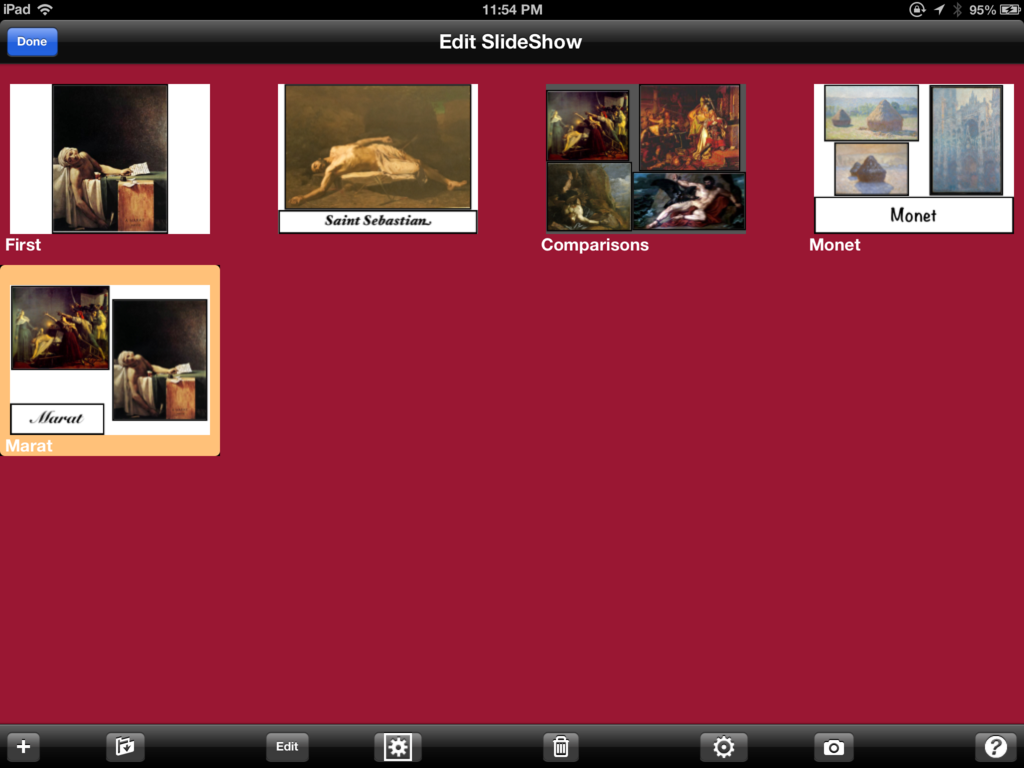


Use to create a new Slide, from a number of possible initial templates. Select a slide to
Edit or delete it.
Edit a Slide
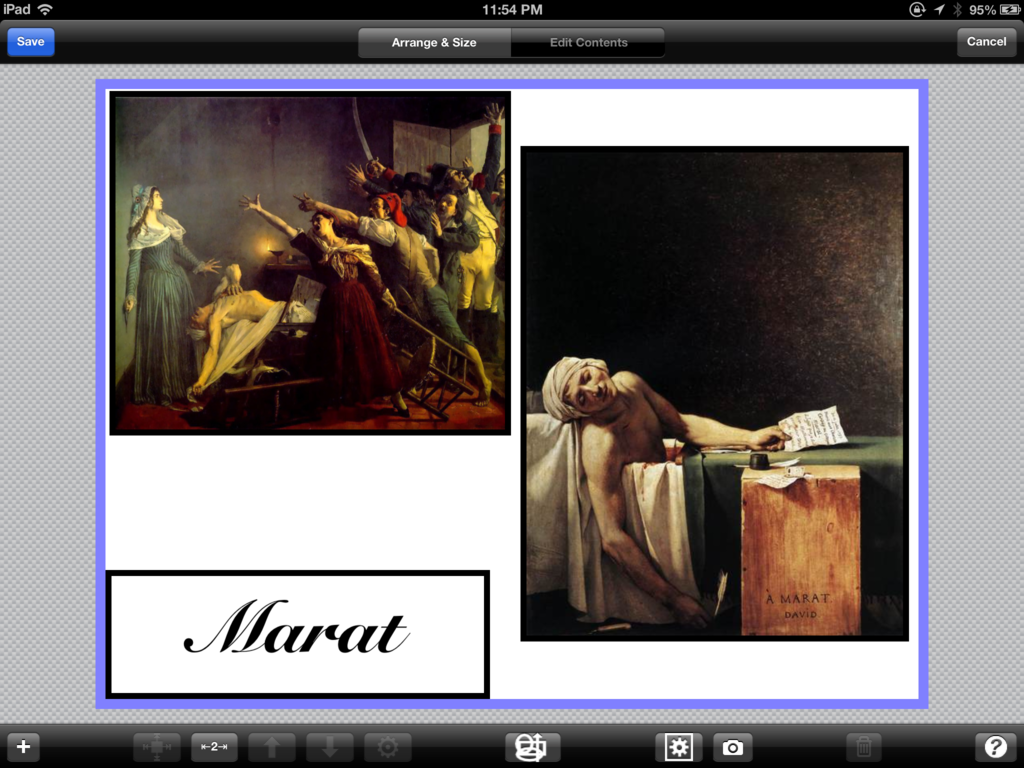


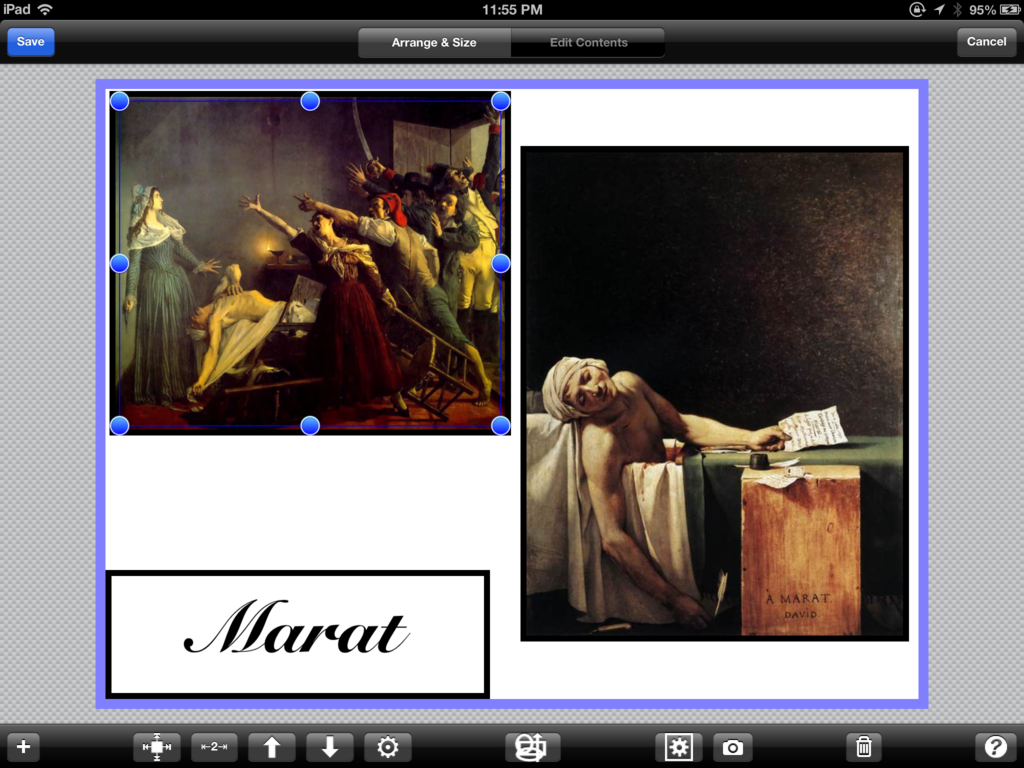


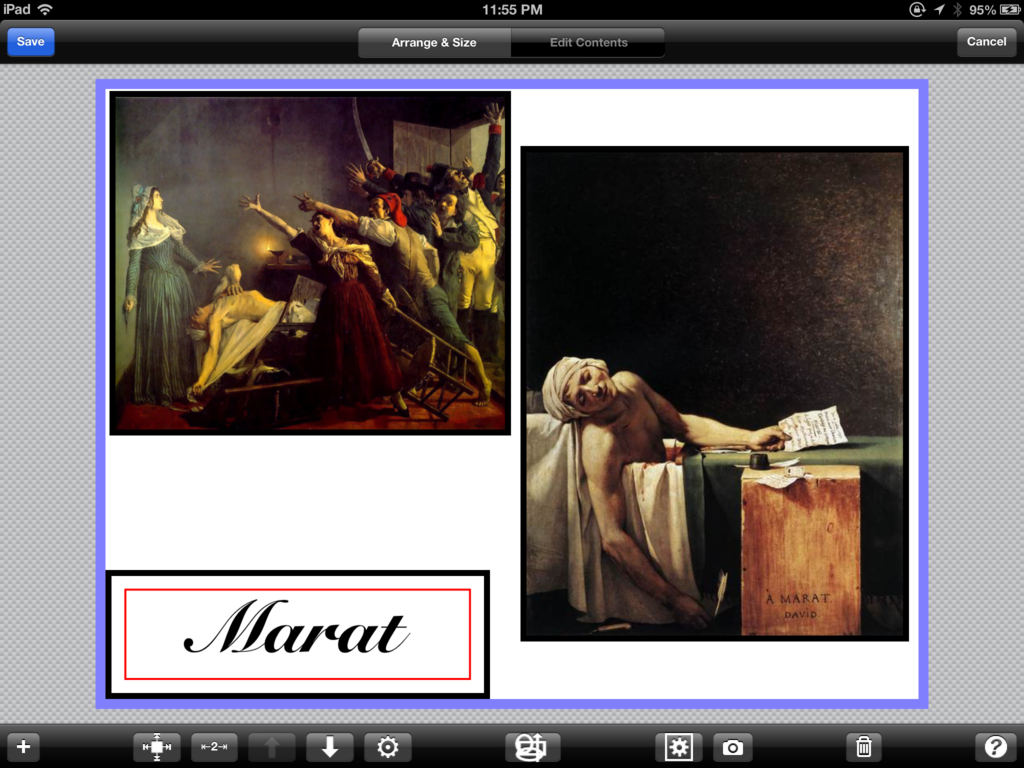
Touch a Slide Object — Text area, Media (Image or Movie), Web Page or Shape — to select it. You may resize it using the eight control points which appear when you touch near an edge


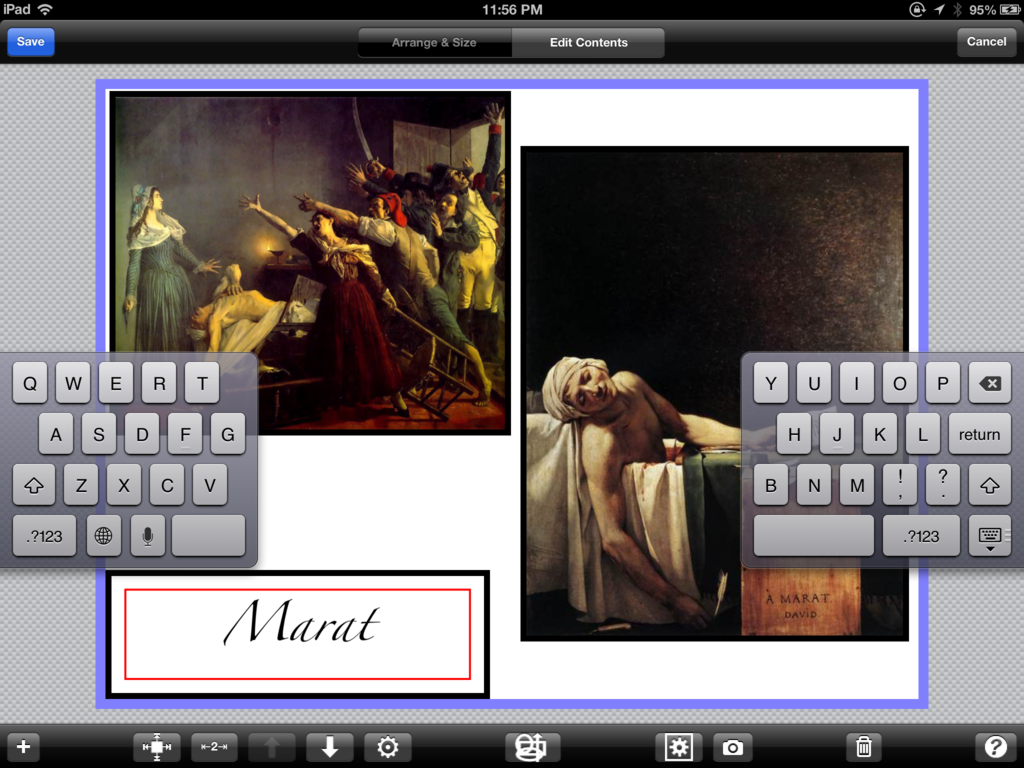
You can change the font and size of displayed text. You can also use left, right, or full justification or center the text. And you can add bullets at the start of each line.
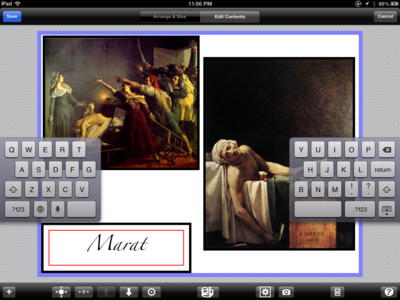
You may want to move or split the keyboard to show the text area you're typing into. See the "Keyboard Layouts" section of http://manuals.info.apple.com/en/ipad_user_guide.pdf for details, or http://ipad.about.com/od/ipad_basics/ss/Ipad-Keyboard-Settings-Help_4.htm for a quick intro.
Present
SlideShows may be presented interactively or in a timed mode good for quizzes. External displays can be used.
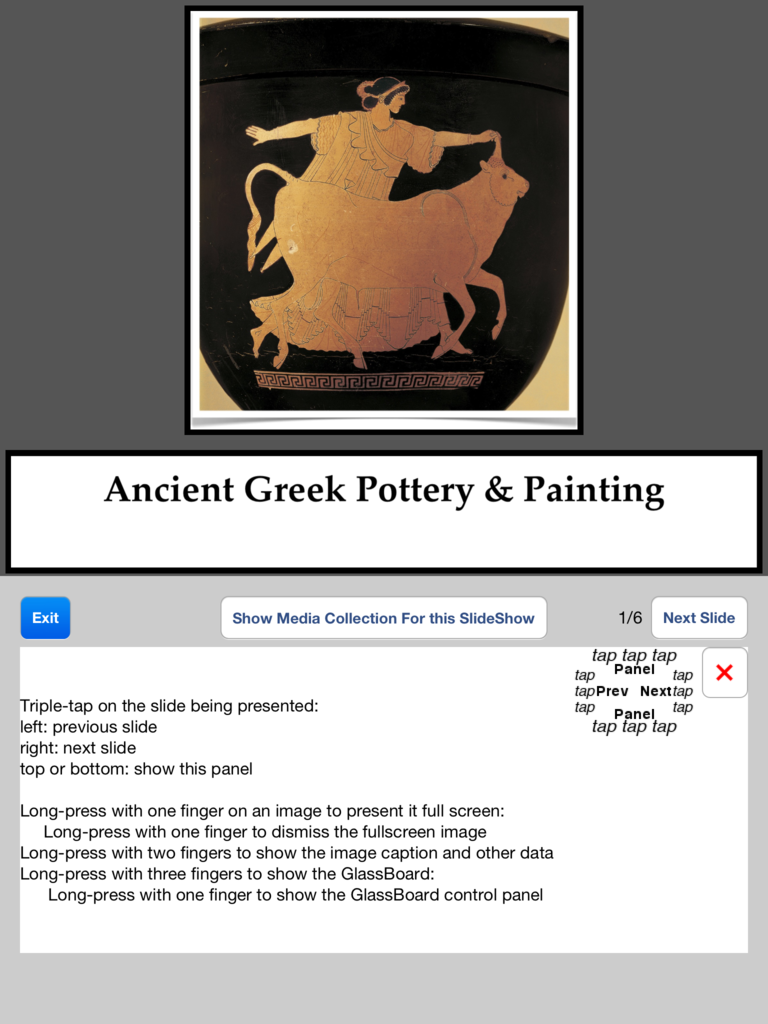
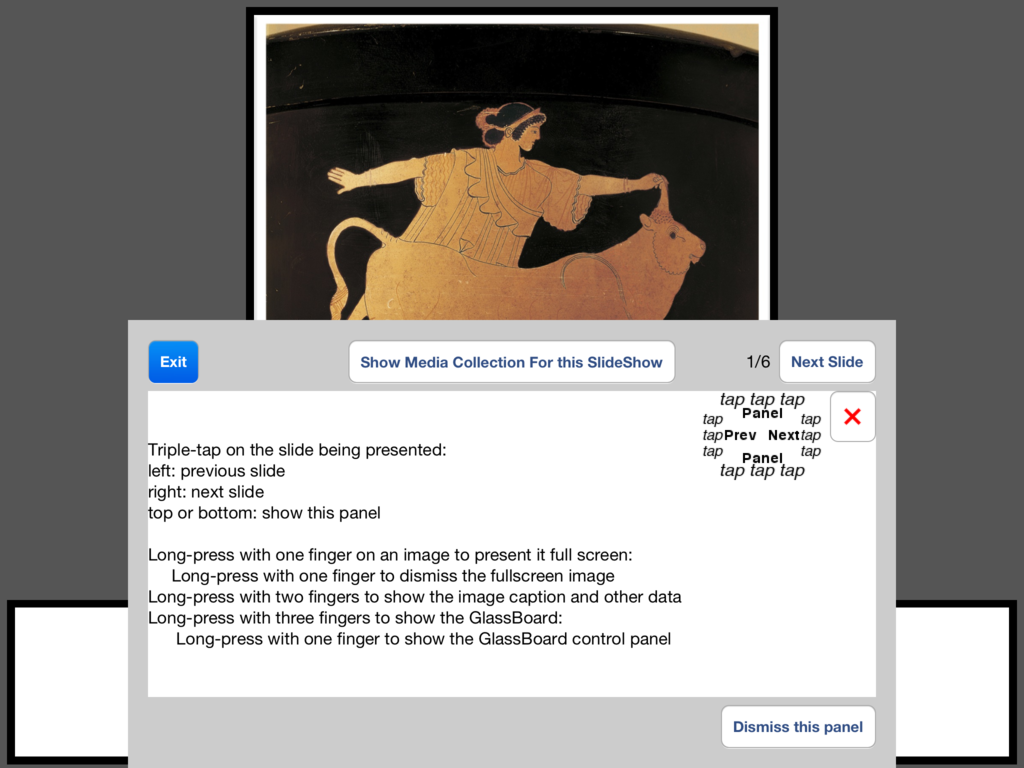

When the iPad is held in portrait orientation, the slide is shown at the top with a control panel below. In landscape orientation, the control panel is hidden. Tapping three times on the right moves to the next slide, left for previous, and three taps at the top or bottom shows the control panel.
Slides can have instructor notes, which can be shown in the information area in place of the control help.
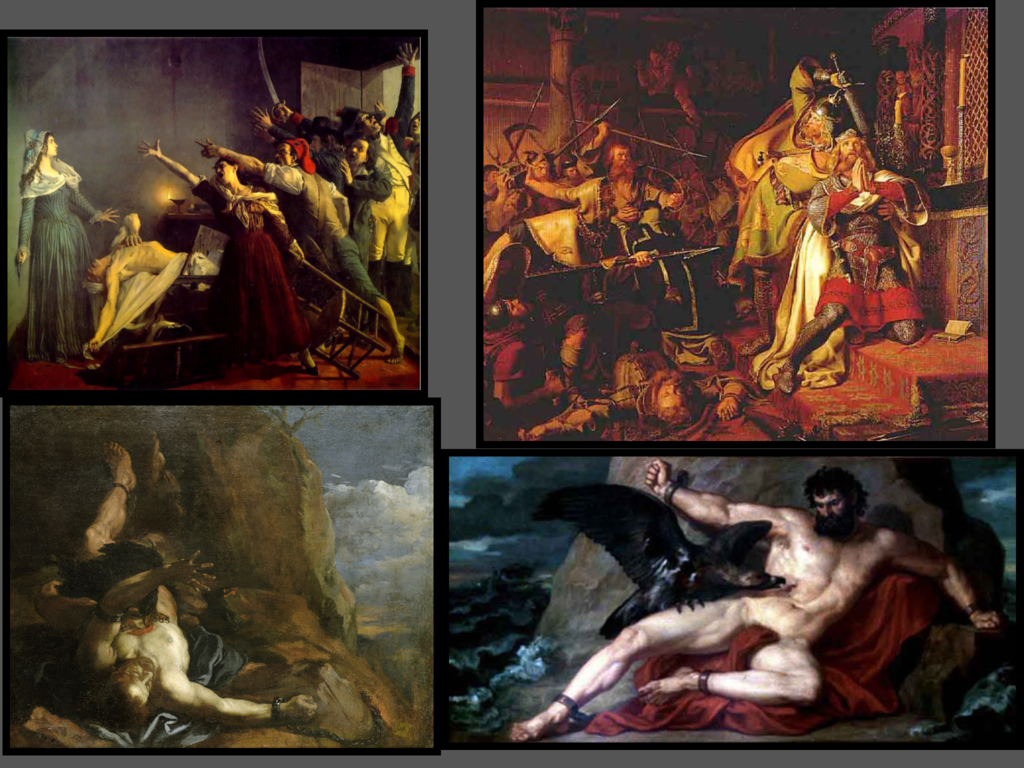

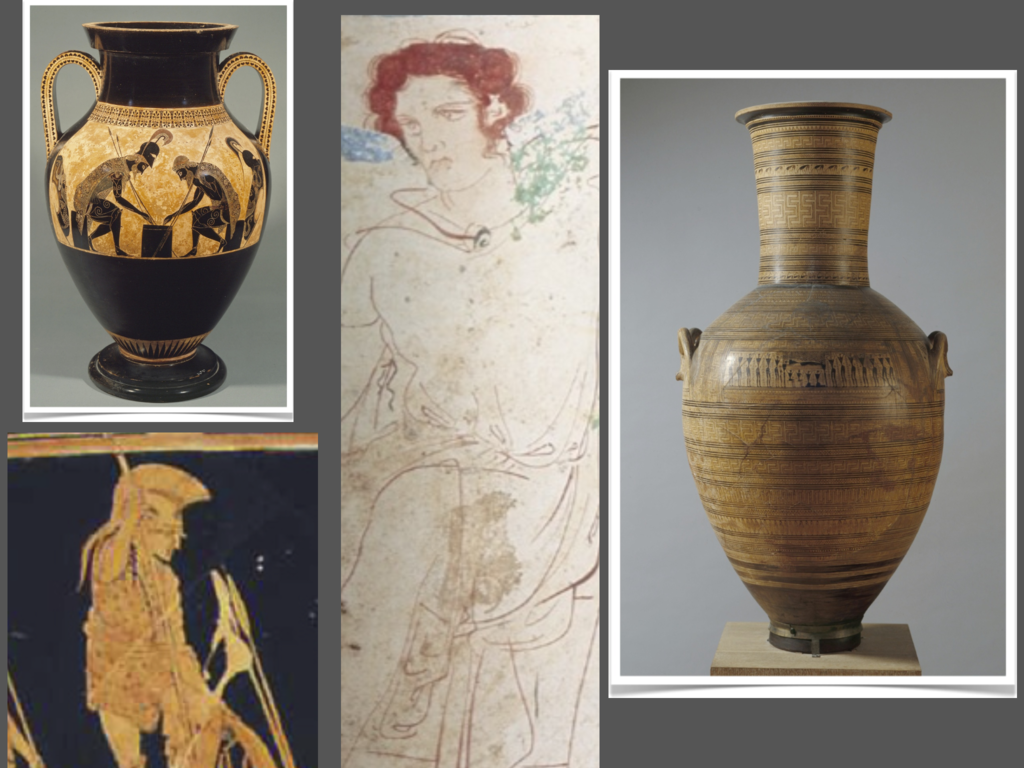

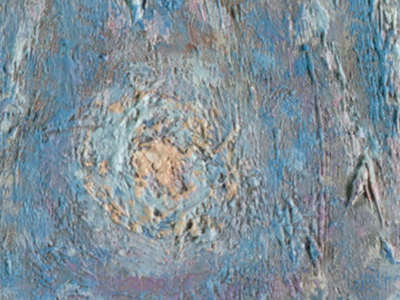
During interactive lecture presentation, the images may be panned and zoomed to highlight areas.

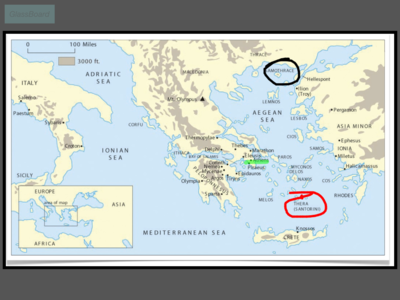
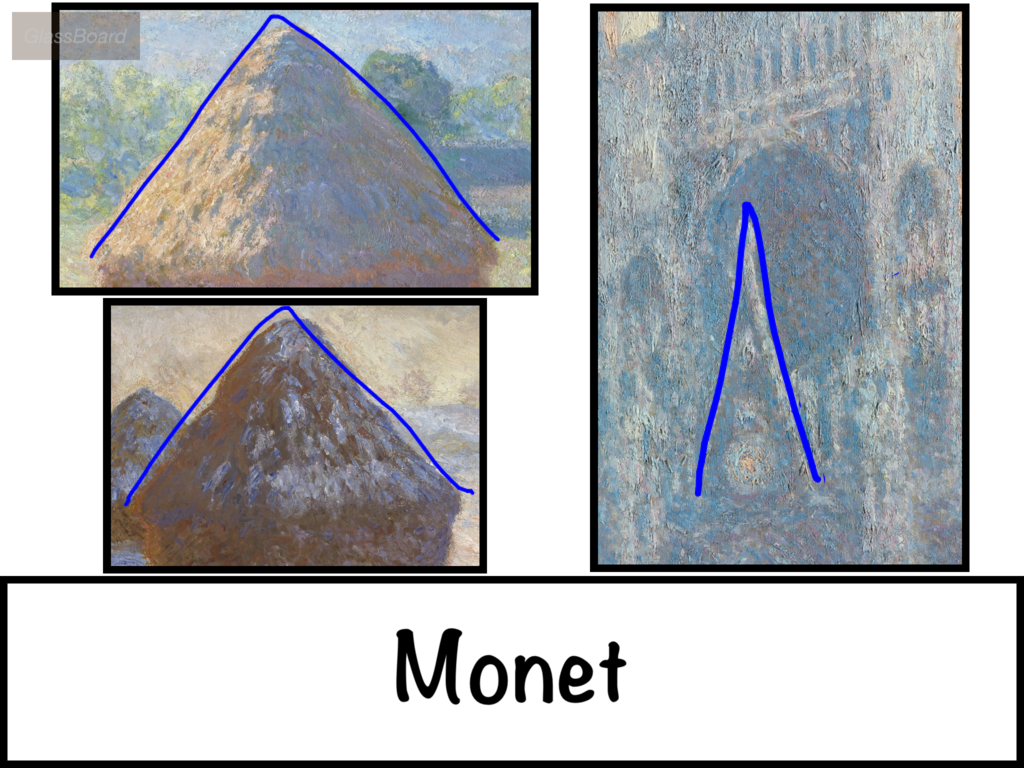
The ArtShow GlassBoard can be used to draw on the displayed image.

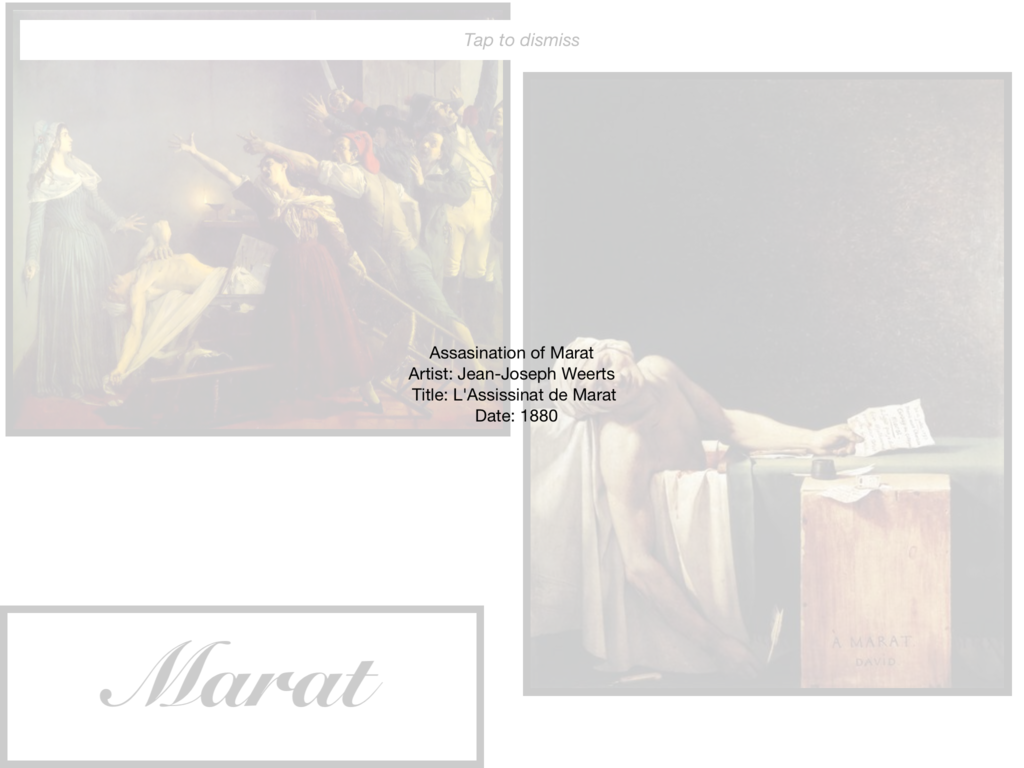


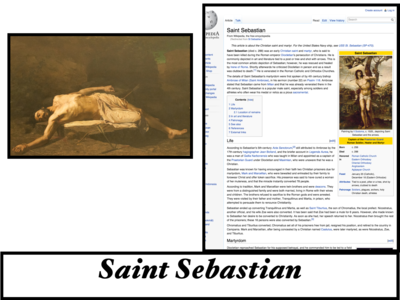
The information for an image or movie can be called up during the lecture.

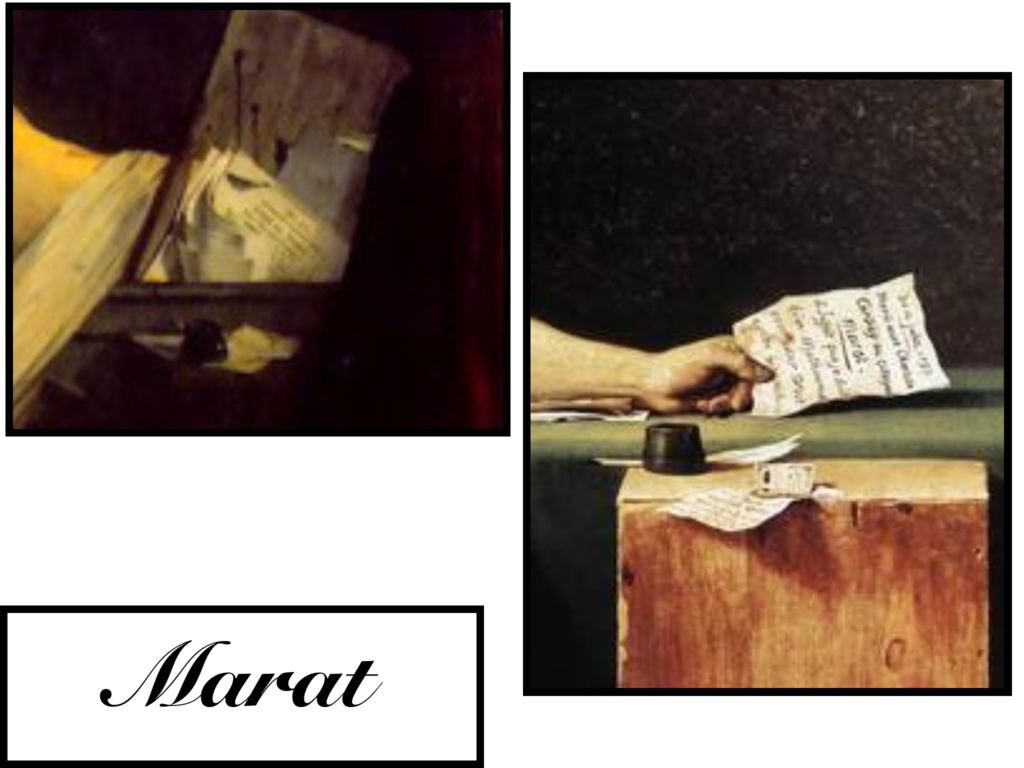
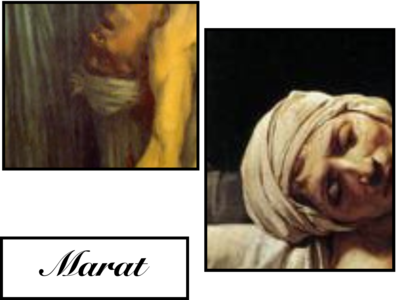

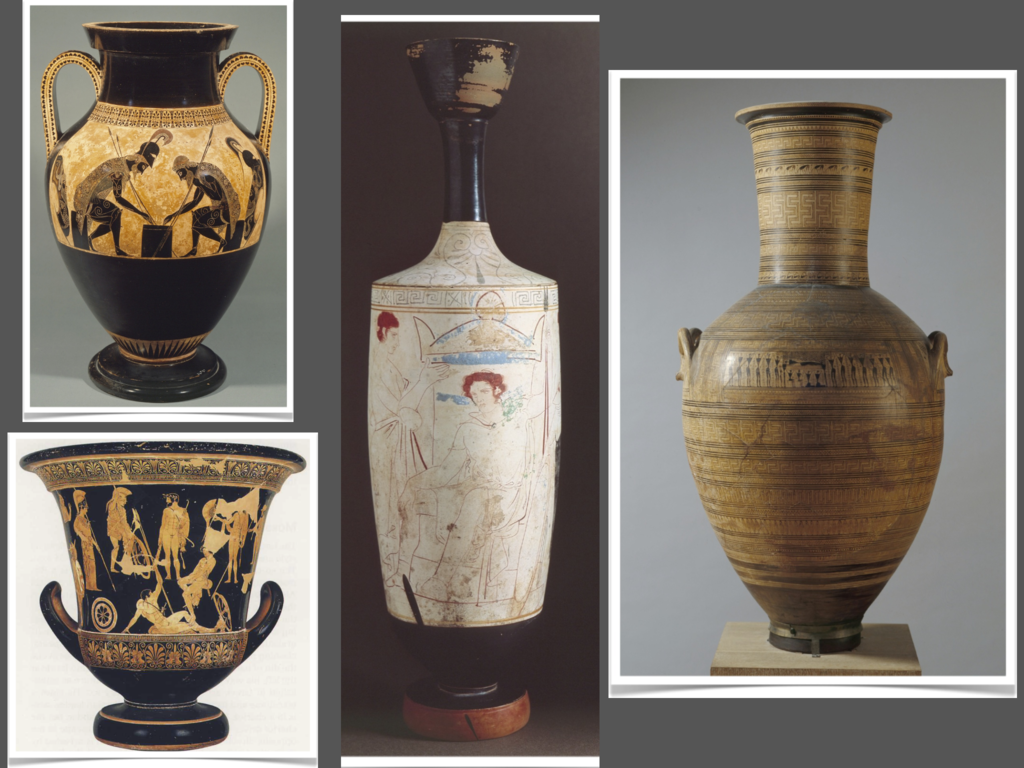
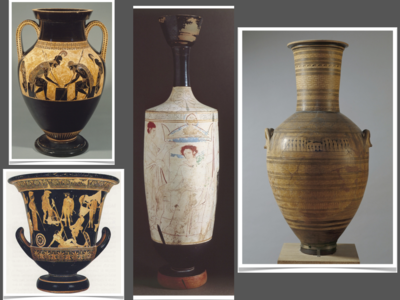
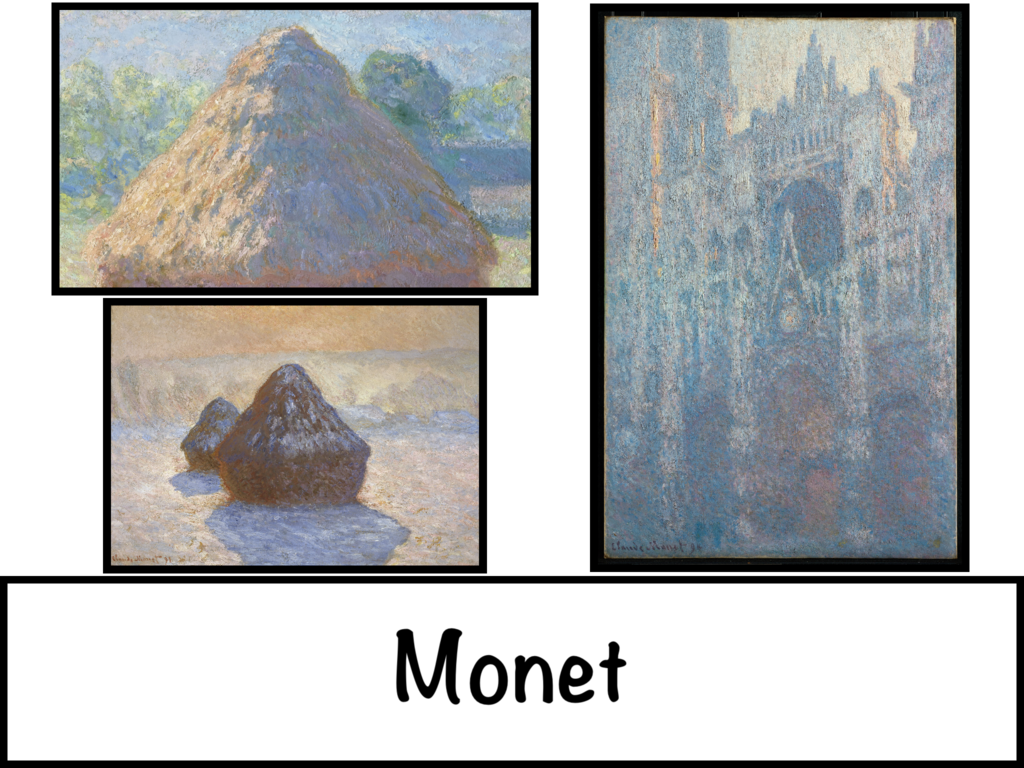
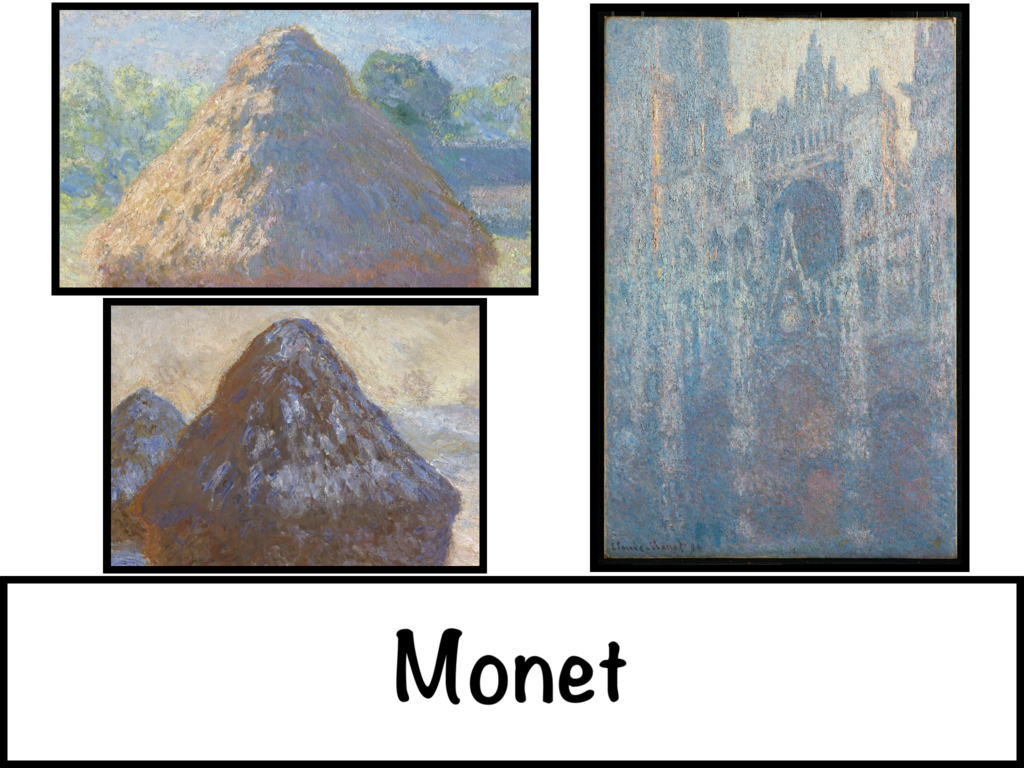
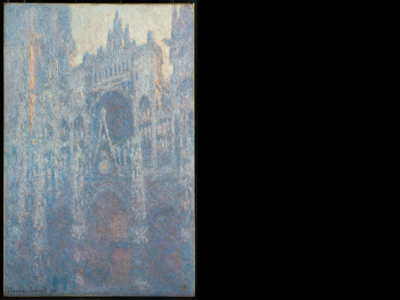
An example of using the zooming feature to compare images.
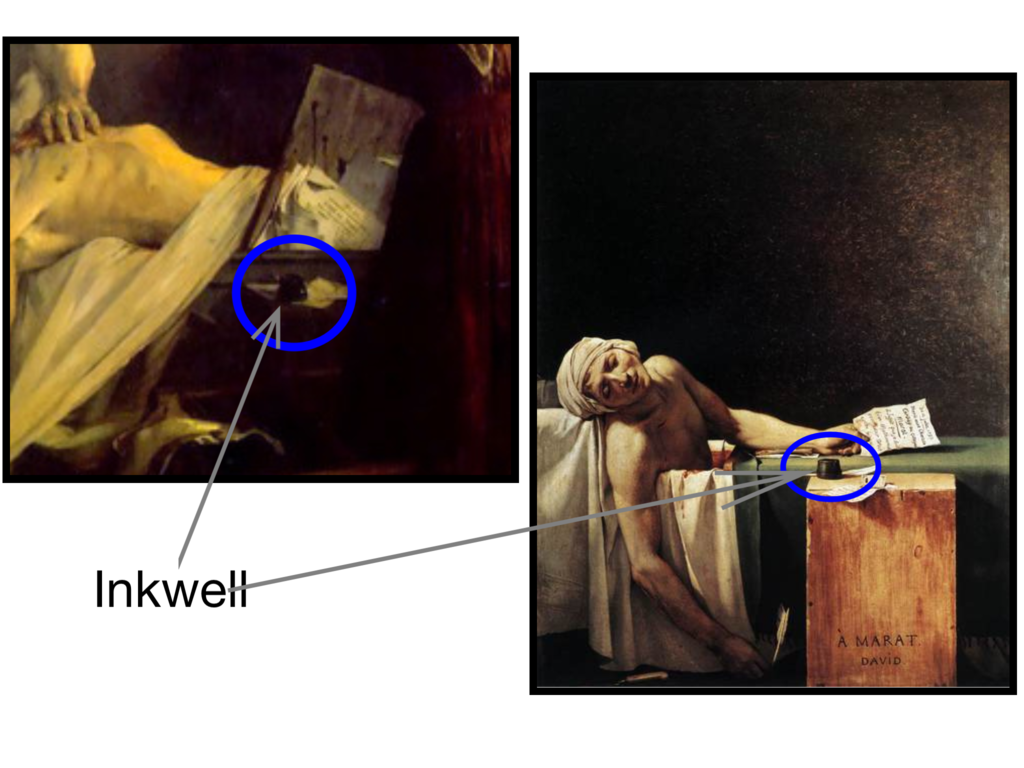
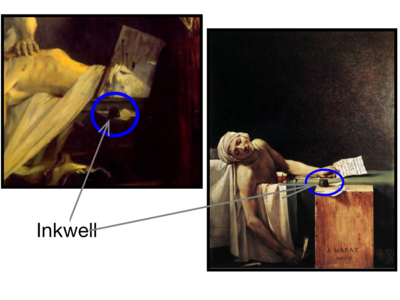
Ovals, rectangles, and arrow shapes may be added to slides to highlight or label features.

Web pages, optionally with active navigation links, may be added to any slide.

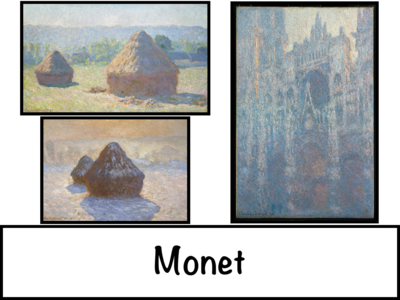


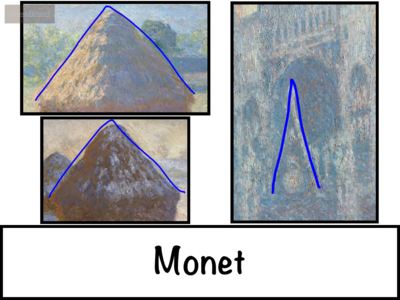


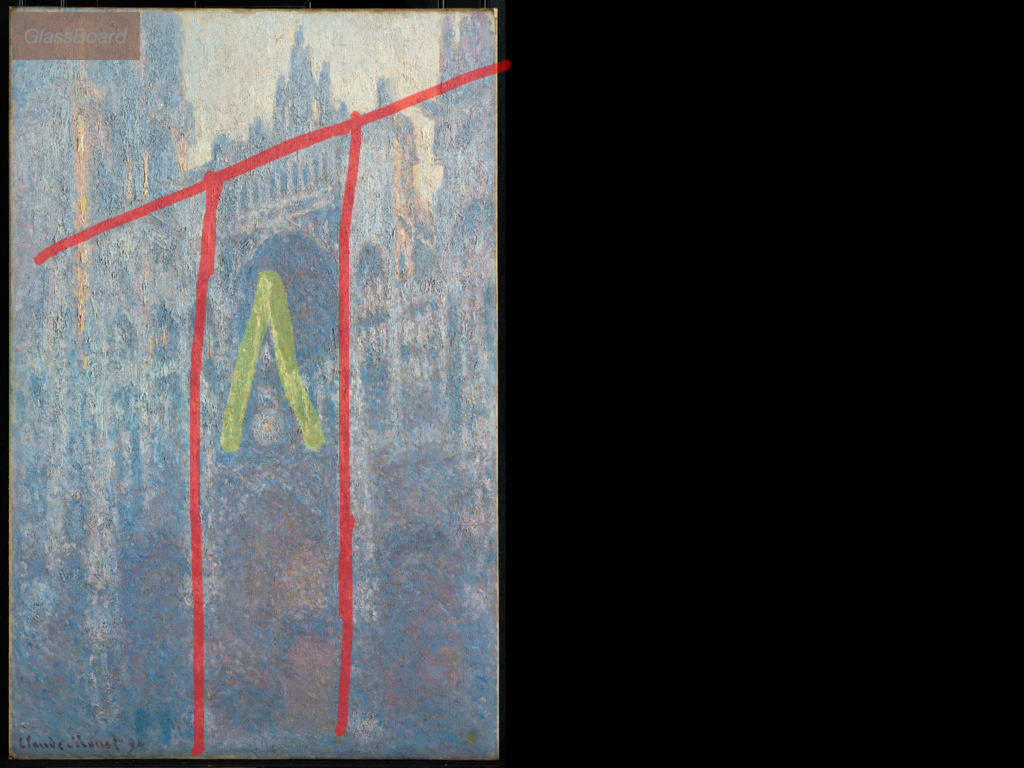

This sequence shows the use of zooming, presenting one image full screen, and using the GlassBoard.